Are you looking for a quick fix to stop trigger finger or trigger thumb? What if I told you this tip could completely eliminate unwanted finger or thumb triggering.
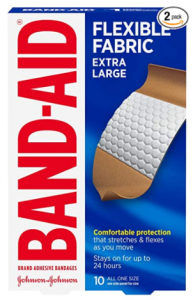
To try for yourself, go grab a couple of BAND-AIDS® and let’s get started.
In this blog post, I’m going to show you how to apply a BAND-AID® to your finger or thumb to instantly stop triggering.
But first, it is very important to make sure you do actually have a trigger thumb or trigger finger. Because there are several hand and thumb conditions that can mimic the finger pain, locking, or popping you may be experiencing.
Seeing a hand surgeon, or a hand therapist, can ensure you get an accurate diagnosis. And therefore, the right treatment.
Depending on the severity, or the stage, of your trigger finger or trigger thumb will depend on how many BAND-AIDS® you will need.
For you convenience, you can also watch this trigger trick in my YouTube video here-
Before we dive in, I really like the fabric type BAND-AIDs® for this. They stay on better than the plastic ones and have a light stretch that allows for finger motion.
Stop Trigger Finger or Trigger Thumb with this BAND-AID® Trick: Step 1
We are going to start with one BAND-AID®.
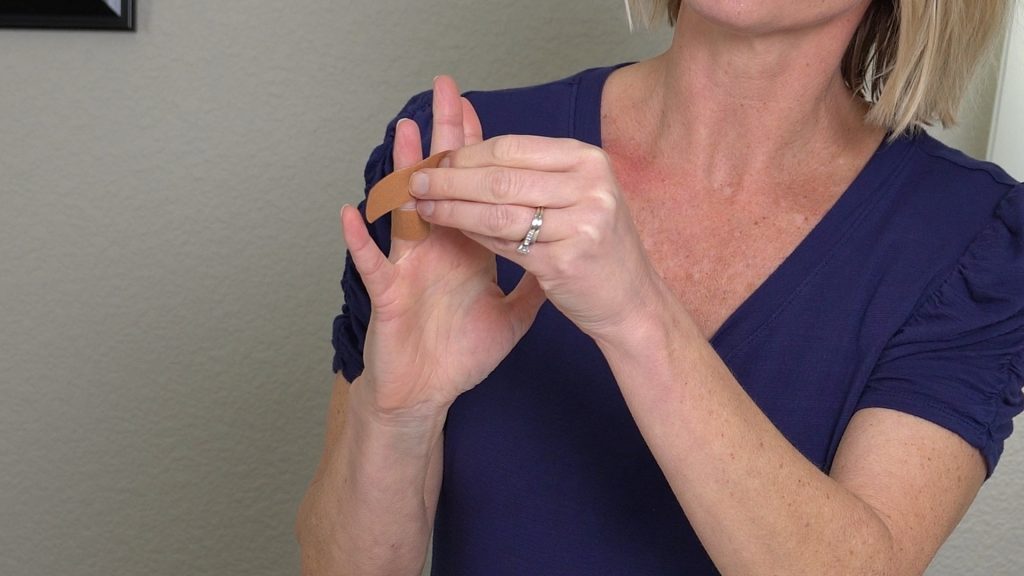
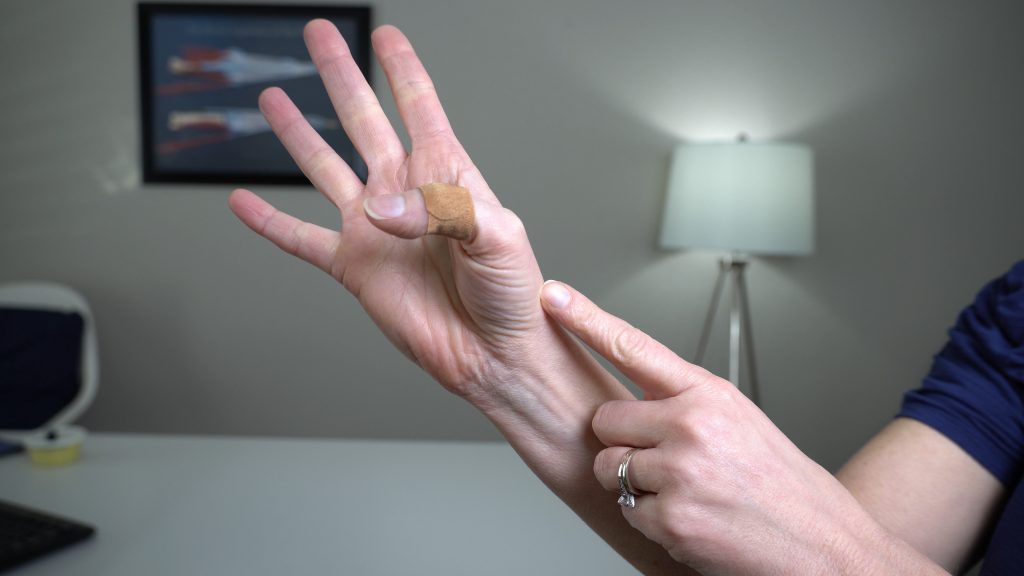
First, place the BAND-AID® right at the base of your finger that is locking, popping, or triggering.
Make sure to apply it so your middle joint, also known as the PIP joint, is covered by the BAND-AID®.
This will block your finger from bending or flexing too much. Therefore, prevent your finger from triggering.
Typically, your finger triggers when you flex or bend at all 3 joints of your fingers or when you flex into a full fist.
The BAND-AID® will help block your middle joint from bending. That way only 2 out of your 3 joints are bending.
Remember not to apply the BAND-AID® too tight. You always want to be cautious of applying any tape or dressings all the way around your fingers.
I’m sure you are not looking to cut the circulation off of your finger or make it swell.
Now, to tell if one BAND-AID® is all you need, you will want to test it out.
The only way to do that is to bend your finger.
Let all your fingers lightly curl into a loose fist. Don’t be too forceful when you’re first starting out.
You should notice the BAND-AID® blocks the end range of your flexion.
If you get the feeling your finger is going to trigger if you bend any farther, then that is a sign you may need more support. Maybe one BAND-AID® isn’t enough.
In this case, get yourself a second BAND-AID®.
Stop Trigger Finger or Trigger Thumb with this BAND-AID® Trick: Step 2
Keep the 1st BAND-AID® on your finger. Now apply the 2nd BAND-AID® a little higher up on your finger.
This one will block the tip of your finger from bending too much. Depending on the length of your fingers you may find that these 2 BAND-AIDS® are pretty close together.
Personally, I have small fingers so there is not much space between the 2 of them.
Now both of the joints of your finger are blocked from full flexion or bending. Of course, if you really bend hard you could flex through the BAND-AID® but you are not looking to do that.
You are just looking for something to block your finger’s end range of motion. This way when you are using your hand to do activities around the house, or work, you won’t get that unexpected, painful popping.
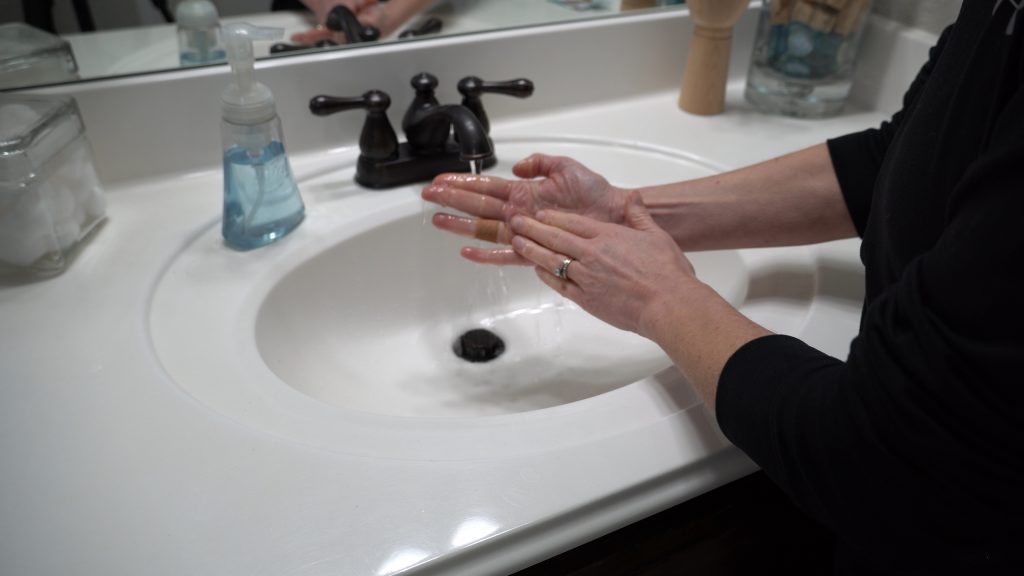
Keep in mind, if you’re washing your hands a lot you will want to change your BAND-AID® frequently.
Because you really want to make sure the skin underneath the BAND-AID® does not get wet and irritated.
Stop Trigger Thumb with this BAND-AID® Trick
Luckily, this BAND-AID® trick works great for trigger thumb too.
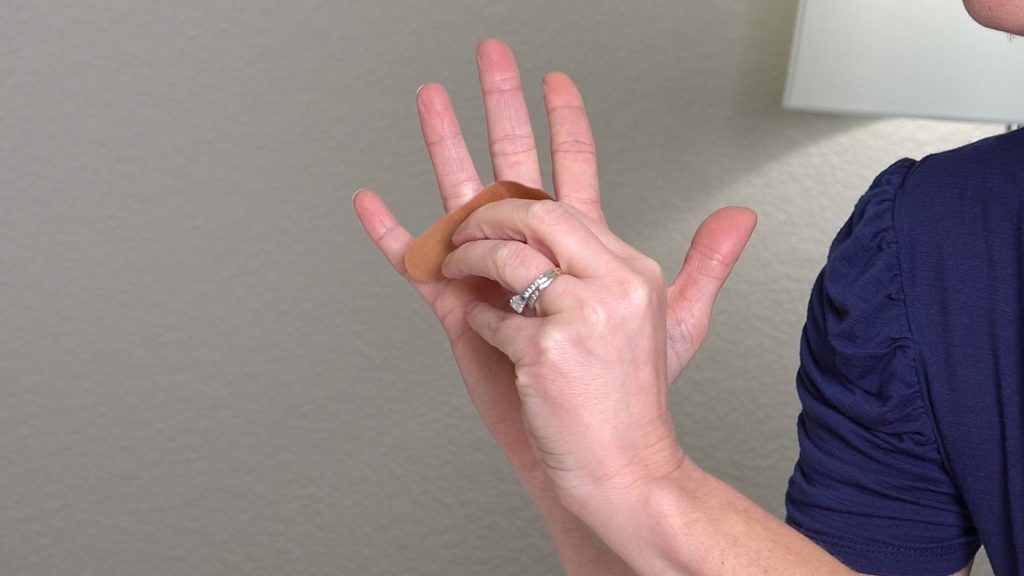
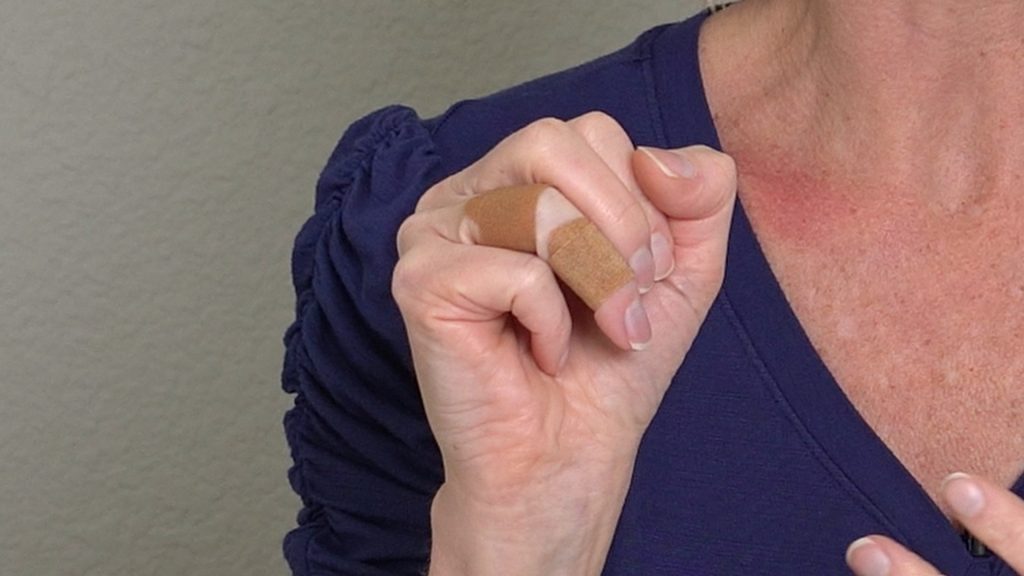
Again, get yourself 1 BAND-AID®. You’re going to apply it at the crease of your thumb. Because just like with a trigger finger, you are trying to prevent full flexion or bending of the tip of your thumb.
Apply the BAND-AID® so you can’t see the crease of your thumb IP joint. Don’t apply too high up because you’re also trying to provide a little bit of support over the oblique pulley here.
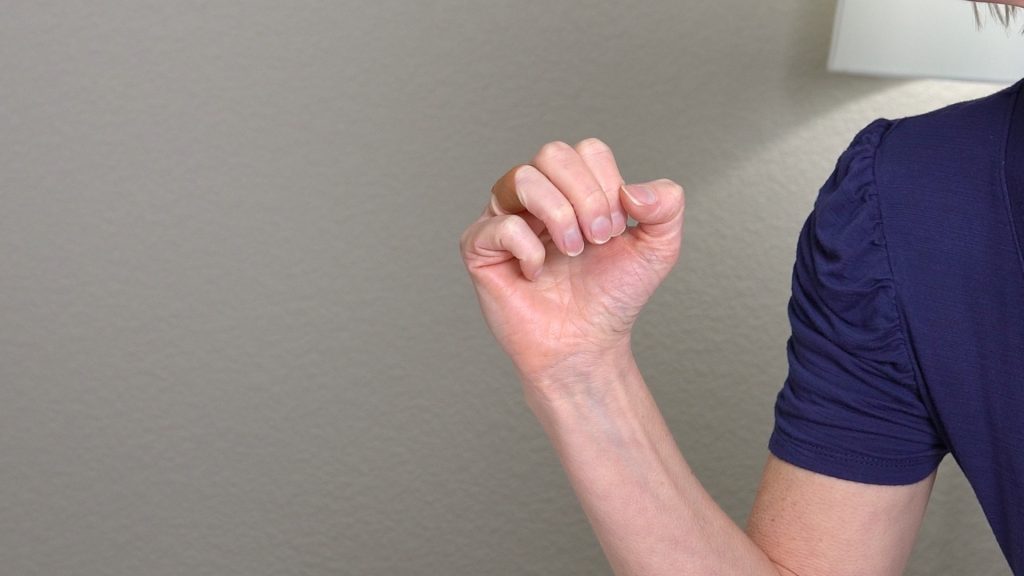
Then again you want to test it out by lightly bending your thumb to see if that stops your trigger thumb.
On occasion, you may need a second BAND-AID® wrapped around your thumb joint for added support. It depends on the stage or severity of your trigger thumb.
Just play around with the placement to see what works for you.
Conclusion:
Ideally, you want to avoid triggering your finger or thumb for 6-8 weeks. So you may need to wear these BAND-AIDS® for quite awhile. Sometimes it can take up to 12 weeks to finally heal the trigger finger or trigger thumb.
You probably don’t want to wear a BAND-AID® for that long. Your skin can get very irritated from the adhesive and constant removal.
Luckily, there are many more treatments to try other than surgery and injections.
In that case, check out my playlist of videos where I show other options such as Oval-8 rings and tape to help trigger finger or trigger thumb.

If you found this post helpful do share this with family and friends that use their hands a lot.
Help them stop trigger finger or trigger thumb with this BAND-AID® trick
Don’t want to use Band-aids? Try an Oval-8. You can find those in my store here. Or you can try one of the other splints that block your knuckle here.